Sunday, 11 March 2012

Baked Lemon and Ginger cheesecake with Lemon Curd

I've been doing quite a bit of baking recently so today I thought I'd share a recipe I recently made very successfully, following a recipe I found for a Lime and Ginger cheesecake.  My brother, a chef, and his girlfriend recently gave me a fantastic foodie birthday present, which included a jar of home-made Lemon Curd. This recipe was very easy to make (well, easy for me as I didn't have to make the curd), it looks great, and most importantly, it's incredibly tasty!!

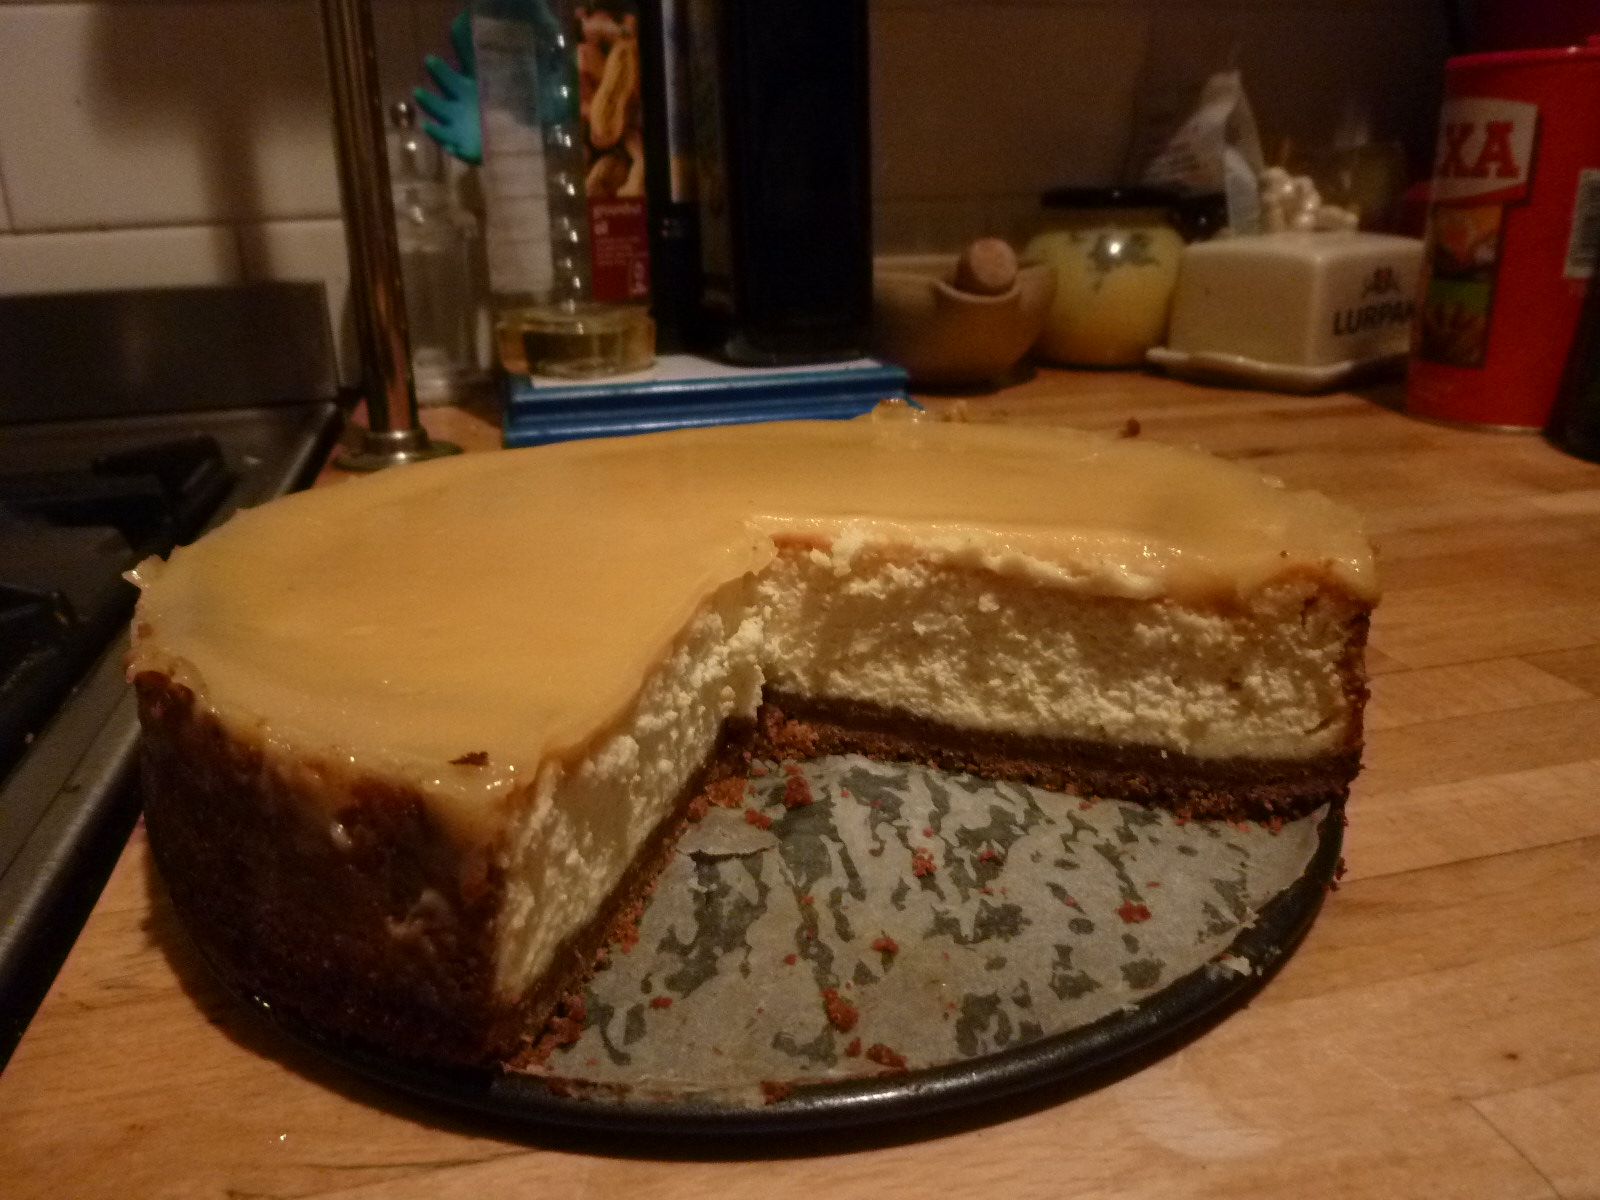
cheesecake just out the oven & jar of lemon curd (the strange green dot is on my camera lens not the cake - honest!)
I thought the lemon curd would be really nice as a topping for a cheesecake and the ginger addition came from watching a repeat of one of Jamie's 30 minute meals where he made little cheesecake pots using ginger nut biscuits as the base. There were quite a lot of hits when I searched online but the one that looked the best (in terms of ingredients and instructions) was a baked lime & ginger cheesecake with lime curd, found at Nic Cooks blog.  As Nic talks about making lemon curd in the same post I figured this recipe would work the same for lemons as for limes.

I forgot to take a photo before I sliced into it, that was how keen I was to try it!
My loose-bottomed cake tin is a 20cm rather than the 24cm used in the recipe so I just reduced the measurements by a fifth. So the recipe I give below is for a 20cm cake tin with the recipe itself copied from Nic's recipe, with only a few small alterations.

Lemon and Ginger Cheesecake (serves 12) [my helpings must be stingy but I still managed to get 12 out the 20cm cake tin!]

120g unsalted butter, melted, plus extra for greasing
200g ginger nut biscuits
90/100g caster sugar
20g cornflour
720g full fat cream cheese at room temperature
90/100g beaten egg (this was 2 medium eggs)
90/100ml thickened cream (I used double cream for this and whipped it up with a hand whisk)
(just under) 1tsp vanilla extract
zest of 2 lemons

Preheat the oven to 180 degrees C. Line and grease a 20cm loose bottom, spring form cake tin.  Put the ginger biscuits in a food processor and blend until fine then add the melted butter and stir together.  Press the biscuit mixture into the bottom of the tin, making sure you cover the bottom evenly and it is compacted well [I use a wooden spoon to pat the top down and ensure an even spread over the tin].  Bake in the preheated oven for ten minutes and allow to cool while you make the filling for the cheesecake.  Increase oven to 200 degrees C.
Put the sugar and cornflour in food processor [the recipe says a stand mixer with a balloon whisk but I have a glass food processor with a balloon whisk button - worked just as well]. Add the cream cheese and blend until smooth and creamy and well combined.  Continue to mix and add the beaten egg gradually until well combined.  Add the cream, vanilla extract and lemon zest (the recipe says to add them gradually but I just stuck them all in together and it worked fine). I then whisked it all again a bit just to make sure it was all blended together.
Scrape the cream cheese mixture onto the cooled biscuit base, and tap the tin to try and level out the top.  Bake in the preheated oven for 40-45 minutes until the top is golden brown and the filling is set. [I found the temperatures and times given on this recipe pretty much perfect - which is a first as my cooker always seems to cook things faster than the recipe says].  Now I didn't read the next bit of Nic's recipe properly so if you're making this then please do follow her advice here:  I had to rotate mine halfway through cooking to ensure even browning.  It wasn't a major problem but mine was definitely a bit browner on one side than the other so I could have done with rotating it.

The next bit of her recipe is to make your lime curd - or, like me, get someone else to make it for you! However knowing how good the home made stuff tastes I think I'll be trying Nic's lime curd recipe at some point soon!  Seriously, I don't know why I've never discovered the joys of lemon curd before now.  It wasn't really something we ever had as children and it just never really appealed to me.  However I had to stop myself from eating the rest of the jar as I was heating it up as it is so delicious!

I let the cake cool for quite a while before I added the lemon curd and I followed her suggestion to heat the curd in a pan first.  Apparently this means that as it cools down it forms a shiny later on top of the cheesecake.  I put mine in the fridge after I'd poured the curd on top and it did indeed form a nice shiny topping.


This cake was so tasty! It was my first attempt at a baked cheesecake and I can't believe how straight-forward it was.  I don't know why but I thought it would be a lot harder.  Maybe this is down to the good recipe and instructions given, also I'm sure down to the incredibly tasty lemon curd I was lucky enough to have!

Wednesday, 1 February 2012

A month of letters challenge

I love letters - writing them, receiving them, cataloguing them, reading them - so was intrigued by an article in the Guardian today Writers bid to revive letter writing.  There are a few ideas in the article and one particularly appealed to me.  It's called A Month of Letters and the idea comes from an American author Mary Robinette Kowal.  She has started a blog and included a journal section on it where she will chart her progress and share tips and ideas.  The challenge is simple -
  1. In the month of February, mail at least one item through the post every day it runs. Write a postcard, a letter, send a picture, or a cutting from a newspaper, or a fabric swatch.
  2. Write back to everyone who writes to you. This can count as one of your mailed items.
Anyone who follows my Archives and Auteurs blog or my work blog will know I love mail and worry over what will happen with regards to the preservation of correspondence.  I know I'm being old-fashioned but I just can't see e-mails in the same way as letters - something is definitely lost.  Also of course there's the real worry about the preservation of e-mails.  I was going to say the ease of e-mails leads to too many as well - people just sending off quick e-mails about not much- but I quickly realised that is a bit of a silly statement as archive collections are as full of mundane, short letters back and forth making arrangements in the same way as any e-mail collection would be.  Similarly both paper and e-mail collections of correspondence will be full of long, detailed and interesting correspondence.  So, my real issue must be with the materiality.  In much the same was as I prefer vinyl to digital recordings, watching a 35mm print to a digital, I also prefer reading a letter to an e-mail.

On a more personal level there's the real joy in writing and receiving letters.  I like taking the time to sit and write to someone, knowing they won't receive it for a day or two, or longer if it's going abroad.  The happiness in coming home to mail sitting in the close makes me very happy.

recent postcard received from a friend


The challenge started today, the 1st of February, and whaddyaknow, I sent a postcard off this very morning.  This was before I'd read about the challenge so I didn't take a photo of it but it was a postcard showing 'Blaues Pferd' (the blue horse), a painting by Franz Marc.  Te postcard was bought by me in the home of the painting, the Lenbachhaus in Munich.  This was bought when I was 17 or 18 so the postcard is at least 15 years old!  I was visiting my Uncle in Munich with my brother and my Gran and it was a special holiday filled with great memories, and some not so great given that I took ill with glandular fever whilst I was there!  Asides from that though it was a very special trip, only my second time abroad, and I absolutely loved it.  I have a large drawer filled with stationery so why did I pick this card to send to a friend yesterday? well, she studies German and I know she likes to visit Germany so I thought she would appreciate that it's a German painting.  Now when I see The Blue Horse it always makes me think of that holiday with my brother and my gran. I wonder if the image will have any associations for her?  it's nice to put as much thought into what you send, or maybe what you send it in, as in the content itself.  For example I recently got a birthday card from one of my cousin's and I was very happy to get the card and read the message of good wishes inside.  However I have to admit to being as excited by the envelope as the stamp was one of the newly released series to celebrate the work of Roald Dahl and Quentin Blake!

So, don't worry I shan't be posting a photo of every letter/postcard I sent but I will do updates about the challenge.  I'm looking forward to taking a bit of time every day to write to someone I care about.
the stamps can sometimes be as exciting as the letters!

Wednesday, 18 January 2012

First forays into baking

I was bemoaning my lack of sewing activity and subsequent lack of posts on this blog to Toile&Trouble recently and she suggested I could do some posts on the baking activity I've been getting more and more into recently. So, I'm taking her up on that suggestion and I'll post about any particularly successful, or also maybe spectacular failures, of baking and cooking that I do.

I thought I'd start with a cookie recipe I've made three times since the end of December - yes, it's that good and that easy!  It's a gluten-free cookie recipe from the Waitrose website (I wasn't sure about a lot of the chocolate I looked at in the supermarket as I thought maybe soya lecithin had gluten in it? I managed to find a white cooking chocolate from waitrose without any soya lecithin though.)

1st attempt at gluten-free white chocolate chip & cranberry cookies

Ingredients
  • 125g slightly salted butter, softened
  • 150g light brown soft sugar
  • 1 medium egg, lightly beaten
  • ½ tsp Vanilla Extract
  • 150g Doves Farm Gluten Free Plain White Flour, sifted
  • 1 tsp Super Cook Gluten Free Baking Powder
  • 100g White Chocolate, chopped into small chunks
  • 50g fresh or dried cranberries

Method
  • Preheat the oven to 200°C, gas mark 6. Line 2-3 baking trays with baking parchment
  • In a mixing bowl, beat the butter and sugar together with an electric hand whisk or a wooden spoon, until pale and creamy. Add the egg and the vanilla extract, a little at a time, and continue beating until they are thoroughly combined.
I should point out here that I'm a bit slapdash when it comes to reading instructions (maybe why my sewing isn't working out so well haha!) and I didn't notice that the first step is to beat the butter & sugar together and instead I melted the butter and added the sugar to it. This was much quicker and it does work but it means that once you've got the mixture all made then leave it to sit for a while and solidify a bit before you spoon it out on to the baking trays. 
  • Use a metal spoon to stir in the flour, baking powder, chocolate and cranberries, plus 2 tablespoons of cold water, and mix until they are thoroughly combined.
Again, the first 2 times I made these I didn't notice the bit about adding the 2 tablespoons of cold water.  The cookies worked out fine without it.  The third time I added the 2 tablespoons and they were a bit too thin in the end but much chewier.  So I think maybe 1 tablespoon of water would be right.
  • Place heaped teaspoons of the mixture onto the baking trays, leaving plenty of space between them for the cookies to expand during cooking.
Wow - I've only just noticed it says TEASPOONS - I was doing tablespoons, no wonder mine were so huge! I really need to read a bit more closely! When it says plenty of space it really means plenty of space - the first time I made these I thought I'd left plenty of space between them but they still ended up spreading into each other a wee bit.
  • Bake for 15-20 minutes until golden. Remove from the oven and leave on the baking trays for 2-3 minutes, then place on cooling racks. When cooled, store in an airtight container and eat within 2 days.
I would say start checking at 10mins as they seem to cook a lot quicker than the 15-20mins specified!  With regards to keeping for 2 days - well, they never usually last that long so who knows!

Wednesday, 11 January 2012

A non-sewing roundup!

Well, a slightly belated Happy New Year to everyone!  Not much chance of a yearly round-up of sewing activity from me - as it's been distinctly lacking, particularly in recent months!  I had a bit of a disastrous attempt at making pyjama bottoms a few months ago and it totally through me off track.  I know I'm a complete beginner bit it still knocked my confidence a fair bit.  Followed by a pretty much steady stream of welcome visitors to our wee London flat over the next few months, it's fair to say my creative juices haven't exactly been flowing this past year.

Next year though, next year will be better. Oh wait a minute, that's this year already isn't it.  So, that's it, no excuses any more as I have no cash this month and therefore plenty of time to stay home and get back to learning how to sew.  This ties in with one of my resolutions for 2012 -
  • Buy less clothes/get back to learning how to sew 
This is really part of an attempt to consume less and spend less so I'm going to try and not substitute consuming fabric for consuming clothes.  Instead I'll try and work with the stash of fabric I have already and with altering charity shop buys and clothes I already have (one of my most successful sewing projects of last year - of which there are admittedly few) was my re-fashioning of my Timotei Dress.  More alterations and re-fashions are definitely on the cards.


The rest of my New Year resolutions are listed over at Archives and Auteurs if you're interested.

I've also been doing quite a bit of baking so I'm going to follow the suggestion of Toile & Trouble and start posting some of the results of that here as well.